How to create a recovery disk in Windows
Windows 8 or 10 allows you to create a recovery drive (USB) or system repair disc (CD or DVD) that can be used to troubleshoot and restore your computer. Each type of recovery media gives you access to Windows’ advanced startup options. However this feature is not available in Windows 7 where all you can do is create a repair disk which I'll teach in my next blog.
A recovery drive can help you troubleshoot and fix problems with your PC, even if it won’t start. To create one, all you need is a USB drive.
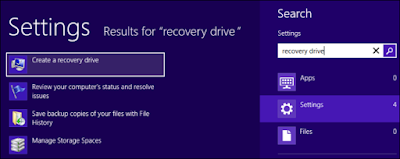
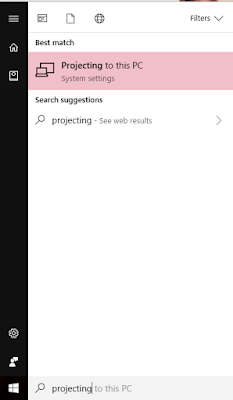
1. From the taskbar, search for Create a recovery drive and then select it. You might be asked to enter an admin password or confirm your choice.
2. When the tool opens, make sure Back up system files to the recovery drive is selected and then select Next.
3. Connect a USB drive to your PC, select it, and then select Next > Create. A lot of files need to be copied to the recovery drive, so this might take a while.
4. When it’s done, you might see a Delete the recovery partition from your PC link on the final screen. If you want to free up drive space on your PC, select the link and then select Delete. If not, select Finish.
A recovery drive can help you troubleshoot and fix problems with your PC, even if it won’t start. To create one, all you need is a USB drive.
1. From the taskbar, search for Create a recovery drive and then select it. You might be asked to enter an admin password or confirm your choice.

2. When the tool opens, make sure Back up system files to the recovery drive is selected and then select Next.
3. Connect a USB drive to your PC, select it, and then select Next > Create. A lot of files need to be copied to the recovery drive, so this might take a while.
4. When it’s done, you might see a Delete the recovery partition from your PC link on the final screen. If you want to free up drive space on your PC, select the link and then select Delete. If not, select Finish.


Comments
Post a Comment